This manual provides essential guidance for installing the Honeywell TH6110D1005 thermostat, including step-by-step instructions, wiring diagrams, and troubleshooting tips for a successful setup and optimal performance.
1.1 Overview of the Honeywell TH6110D1005 Thermostat
The Honeywell TH6110D1005 is a programmable thermostat designed to efficiently manage heating and cooling systems. It features an easy-to-use interface, a large backlit display, and compatibility with various HVAC systems. The thermostat includes a convenient “easy change” battery door, allowing users to replace batteries without disassembling the unit. Its programmable functionality enables users to set temperature schedules, optimizing energy use and comfort. The device also offers built-in instructions for straightforward setup and operation. With its reliable performance and user-friendly design, the TH6110D1005 is a practical choice for homeowners seeking precise temperature control and energy efficiency.
1;2 Importance of Proper Installation
Proper installation of the Honeywell TH6110D1005 thermostat is crucial for ensuring accurate temperature control, optimal system performance, and energy efficiency. Incorrect installation can lead to issues such as uneven heating or cooling, increased energy bills, or even system malfunctions. Following the installation manual carefully helps prevent common problems like fan activation failure or unresponsive displays. Additionally, correct wiring and setup ensure safety, avoiding potential electrical hazards. Proper installation also guarantees the thermostat’s longevity and functionality, allowing users to fully benefit from its programmable features and energy-saving capabilities. Taking the time to install the device correctly is essential for achieving reliable performance and maintaining the integrity of the HVAC system.
Pre-Installation Checklist
Verify system compatibility, ensure power source availability, gather required tools, and check for any existing wiring or thermostat issues before starting the installation process.
2.1 Required Tools and Supplies
To ensure a smooth installation, gather the necessary tools and supplies. These include a screwdriver set (Phillips and flathead), a drill with bits, wall anchors, wire strippers, and a voltage tester. Additionally, have a level, pencil, and masking tape for accurate mounting. For wiring, prepare insulated wire connectors and a wire nut or connector. A ladder or step stool may be needed for reaching the installation area. Ensure all materials are compatible with your system to avoid damage or safety hazards. Having these tools ready will streamline the process and prevent delays during the thermostat installation.
2.2 Understanding System Requirements
Before installation, verify that the Honeywell TH6110D1005 is compatible with your HVAC system. This thermostat operates on 24V AC and supports single-stage or multi-stage heating and cooling systems. Ensure your system has a compatible wiring configuration, typically requiring a C-wire for consistent power. The thermostat supports various heating sources, including gas, oil, and electric systems. Verify the number of stages your system requires, as the TH6110D1005 supports up to two stages for heating and cooling. Check for any additional system-specific requirements, such as humidifier or dehumidifier connections. Confirming these details ensures proper functionality and avoids installation issues.
Installation Steps
- Prepare the wall and shut off power.
- Mount the thermostat base securely.
- Connect wires to correct terminals.
- Attach the thermostat faceplate.
- Restore power and test functionality.
3.1 Preparing the Wall for Installation
Before installing the Honeywell TH6110D1005, ensure the wall is properly prepared. Clean the area where the thermostat will be mounted to remove dirt or grime. Check for any paint or wallpaper damage and repair if necessary. If using a wall anchor, drill pilot holes to avoid damaging the wall. Ensure the wall is level and dry to prevent moisture issues. If replacing an old thermostat, remove any residue or debris from the previous installation. For uneven walls, consider using a mounting bracket to ensure stability. Proper preparation ensures a secure and professional-looking installation.
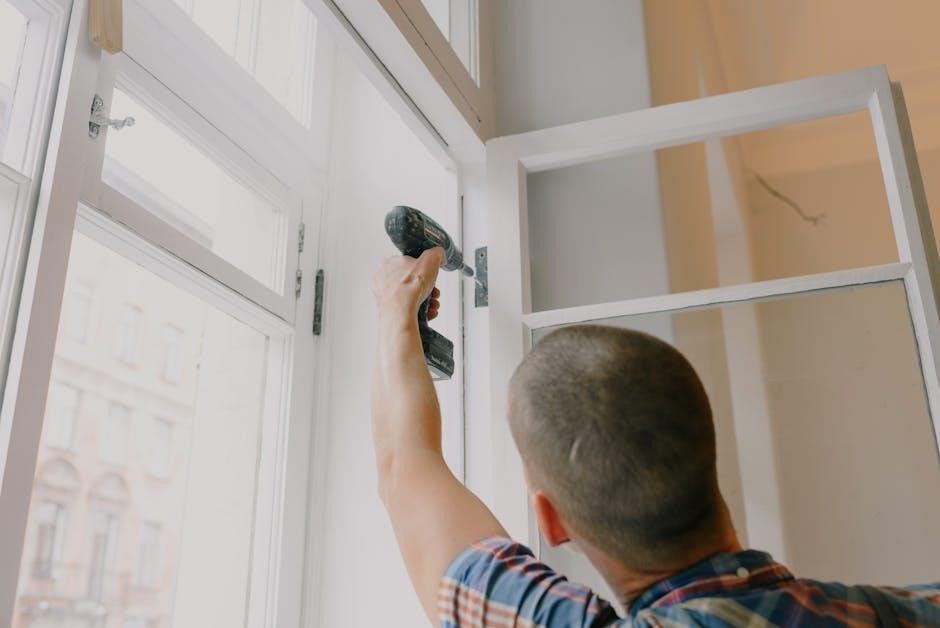
3.2 Mounting the Thermostat
Mounting the Honeywell TH6110D1005 thermostat begins with attaching the mounting bracket to the wall. Align the bracket with the previously prepared area, ensuring it is level. Secure the bracket using screws or anchors appropriate for your wall type. Once the bracket is firmly in place, gently lift the thermostat and align its mounting tabs with the bracket. Press firmly to ensure a secure connection. Do not overtighten, as this could damage the device. Ensure the thermostat is straight and level before finalizing. If necessary, adjust the bracket slightly for proper alignment. Once mounted, proceed to the wiring step.
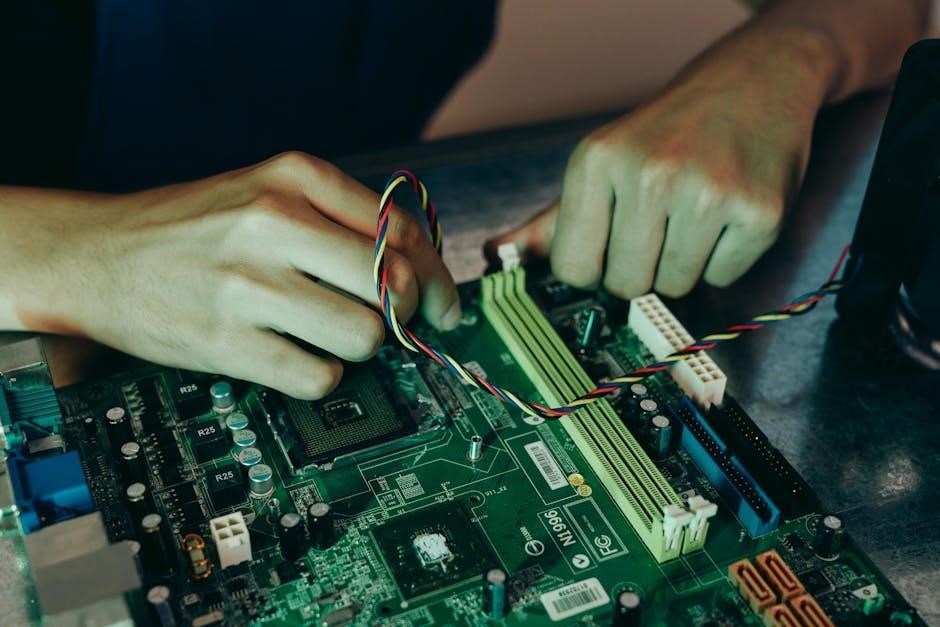
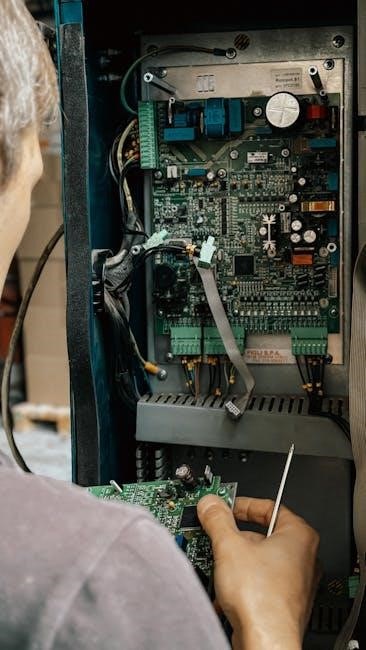
3.3 Connecting the Wiring
Connecting the wiring for the Honeywell TH6110D1005 thermostat requires careful attention to terminal labels. Begin by matching the wires from your HVAC system to the corresponding terminals on the thermostat. Refer to the wiring diagram provided in the manual to ensure accuracy. Gently insert each wire into its designated terminal, ensuring a secure connection. Avoid forcing wires, as this could damage the terminals. Once all wires are connected, double-check the connections to prevent errors. If using a common wire (C-wire), ensure it is properly connected to maintain consistent power. After wiring, replace the faceplate and test the system to confirm proper functionality.
Wiring and Terminal Designations
This section explains the terminal labels and their functions, ensuring proper wiring connections for the Honeywell TH6110D1005 thermostat. Refer to the manual for precise terminal designations.
4.1 Understanding Terminal Labels
Understanding terminal labels is crucial for correct wiring of the Honeywell TH6110D1005 thermostat. Each terminal corresponds to a specific function, such as power supply (R, Rh), heating (W), cooling (Y), and fan (G). The common terminal (C) provides the return path for the heating and cooling systems. Properly identifying these labels ensures safe and efficient installation. Always cross-reference the labels with the wiring diagram provided in the manual to avoid mismatches. Incorrect connections can lead to system malfunctions or safety hazards. Familiarize yourself with the terminal designations before proceeding with wiring to ensure a smooth installation process.
4.2 Wiring Diagrams and Connections
Refer to the wiring diagrams in the Honeywell TH6110D1005 manual to ensure accurate connections. Match each terminal label (R, W, Y, G, C) with the corresponding wire from your HVAC system. The R or Rh wire connects to the power supply, while W controls heating, Y handles cooling, and G operates the fan. The C terminal provides the common return path. Use the color-coded wires to simplify identification. Always turn off power at the circuit breaker before connecting wires to avoid electrical shock. Incorrect wiring can lead to system malfunctions or damage. Double-check connections to ensure they align with the diagram and system requirements for proper functionality.

Power Options and Mounting Instructions
The Honeywell TH6110D1005 can be powered via hardwiring or batteries. Choose a compatible power source based on your HVAC system requirements. Ensure the thermostat is level and securely fastened to the wall using provided mounting hardware for stable operation.
5.1 Choosing the Right Power Source
Selecting the appropriate power source for the Honeywell TH6110D1005 is crucial for proper functionality. The thermostat can be powered either through hardwiring or by using batteries. Hardwiring is recommended for systems requiring consistent power, while battery operation offers flexibility for setups without a direct power supply. Ensure the chosen power source aligns with your HVAC system’s requirements. For hardwiring, verify the system’s voltage matches the thermostat’s specifications. If using batteries, install high-quality, long-lasting alkaline batteries to avoid frequent replacements. Proper power selection ensures reliable operation, while incorrect choices may lead to malfunctions or reduced performance. Always refer to the manual for specific voltage and compatibility details.
5.2 Securing the Thermostat to the Wall
Properly securing the Honeywell TH6110D1005 thermostat to the wall ensures stability and accurate temperature readings. Begin by locating the wall studs or using a stud finder to avoid drilling into soft materials. Use the provided mounting screws or anchors suitable for your wall type. Align the thermostat base with the wall anchors and screw it firmly into place. Ensure the device is level using a bubble level tool for precise installation. Tighten the screws without overtightening to prevent damage. Double-check the thermostat’s position relative to vents or radiators to maintain accurate temperature sensing. Secure installation guarantees reliable performance and prevents potential issues like loose connections or inaccurate readings.

Troubleshooting Common Issues
Identify and resolve issues like display malfunctions, wiring problems, or sensor inaccuracies. Check connections, power sources, and sensor cleanliness. Refer to the manual or contact support if unresolved.
6.1 Fan Activation Failure
If the fan fails to activate, check the wiring connections between the thermostat and the HVAC system. Ensure the fan setting is enabled in the thermostat menu. Verify that the circuit breaker or fuse for the HVAC system is functioning properly. If the issue persists, inspect the fan relay and ensure it is operational. Consult the wiring diagram in the manual to confirm proper connections. If the problem remains unresolved, contact a licensed HVAC technician or Honeywell support for further assistance. Always turn off power before performing any troubleshooting to avoid electrical hazards or system damage.
6.2 Unresponsive Thermostat Display
If the thermostat display is unresponsive, first ensure the device has power. Check the circuit breaker or fuse box to confirm the power supply is intact. Verify that all wiring connections are secure and not loose. Restart the system by turning the power off and on again. If the issue persists, reset the thermostat by removing the batteries or disconnecting power for 30 seconds. Reinstall the batteries or restore power and test the display. If the display remains unresponsive, inspect for any visible damage or debris. Contact Honeywell support or a professional technician for further diagnosis or replacement if necessary. Always follow safety guidelines when handling electrical systems.

Post-Installation Setup
After installation, configure the thermostat settings to suit your preferences, including temperature ranges, scheduling, and system mode. Ensure all features are tested for proper functionality.
7.1 Configuring Thermostat Settings
After installation, access the thermostat menu to configure settings. Set temperature ranges, schedule preferences, and system mode (heat/cool). Navigate through the menu using the touchscreen interface. Adjust the date and time for accurate scheduling. Enable features like temperature limits to prevent extreme settings. Set up energy-saving modes to optimize efficiency. Ensure all configurations align with your HVAC system capabilities. Save settings to apply changes. Verify functionality by testing temperature adjustments and scheduling. Refer to the manual for detailed guidance on advanced settings and customizations. Proper configuration ensures optimal performance and energy efficiency. Always review settings to match your lifestyle and comfort needs.
7.2 Testing the System
After configuring settings, test the system to ensure proper functionality. Start by checking basic operations like heating, cooling, and fan modes. Verify that the thermostat responds to temperature adjustments and scheduled settings. Test the system’s ability to reach set temperatures and maintain consistency. Check for any unusual noises or malfunctions during operation. Ensure all wiring connections are secure and functioning correctly. Review the display for error messages or alerts. Conduct a full cycle test, including transitions between heating and cooling modes. Confirm that the system shuts off and on as programmed. Address any issues promptly to ensure reliable performance and energy efficiency. Testing confirms successful installation and configuration.
Safety Precautions
Always turn off power at the circuit breaker before starting installation. Handle electrical components with care to avoid damage or shock. Ensure all connections are secure and meet safety standards. Avoid overloading circuits or using incorrect wiring, which can lead to system malfunctions or hazards. Follow manufacturer guidelines to prevent accidents and ensure reliable operation. Safety precautions protect both the installer and the system, guaranteeing long-term performance and efficiency.
8.1 Handling Electrical Components
When handling electrical components during the Honeywell TH6110D1005 installation, always turn off the power at the circuit breaker. Use insulated tools to prevent electrical shock. Avoid touching live wires or terminals. Ensure all connections are made securely to prevent short circuits or malfunctions. Verify that the system is grounded properly to avoid electrical hazards. Never bypass safety features or ignore warning labels. If unsure about any step, consult a licensed electrician. Proper handling ensures safety and prevents damage to the thermostat or HVAC system. Always refer to the manual for specific guidelines on handling electrical parts safely and efficiently.
8.2 Avoiding Common Mistakes
During the installation of the Honeywell TH6110D1005, it is crucial to avoid common mistakes that can lead to system malfunctions or safety hazards. One frequent error is incorrect wiring connections, which can result in improper thermostat operation or damage to the HVAC system. Always ensure the power is off at the circuit breaker before starting work. Another mistake is misaligning the thermostat during mounting, which can affect its ability to sense temperature accurately. Additionally, failing to double-check terminal connections or skipping steps in the manual can lead to issues. To prevent these errors, carefully follow the wiring diagram and ensure all connections are secure. Proper alignment and leveling of the thermostat are also essential for optimal performance. By adhering to the manual and taking your time, you can avoid these common pitfalls and ensure a successful installation.
Completing the Honeywell TH6110D1005 installation ensures efficient temperature control and system performance. Double-check all connections and settings for optimal functionality and energy savings.
9;1 Final Checks and Verification
After completing the installation, perform a thorough verification to ensure everything functions correctly. Verify that all electrical connections are secure and properly labeled. Check the thermostat mounting to confirm it is level and firmly attached to the wall. Test the system by running through heating and cooling cycles to ensure proper operation. Review the thermostat display to confirm all settings are configured correctly and the schedule is programmed as desired. Finally, refer to the manual to ensure no steps were missed and all safety precautions were followed. A final walk-through will help identify any potential issues before regular use begins.